Rolando Mocan
Repositioned Battle Droid
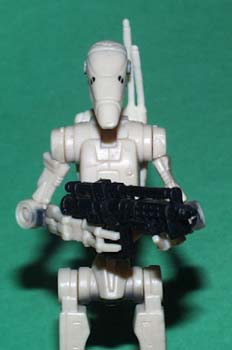
Recipe and picture by Rolando Mocan
Well, fellow customizers, we'll be making something
really easy today, a deliciously accurized Neimodian
army battle droid. This figure will be able to hold his blaster with both
hands, and will retain its original articulation.
(Maybe later we'll get a more articulated version, but
I doubt that this chef will do so, seriously). So, enough chitter chat, let's get to work.
Needed:
- 1 Battle droid
- 1 Sharp X-acto knife or similar
- 1 Super-glue
- Reference material as desired
Procedure:
The main and only work this battle droid has had is on
its arms. First, there's the forearms. We'll start
with that. The forearms are supposed to have a hole through them
(see the right side of the comparison photo below). Notice that the hole is somewhat
rectangular, but the part near the elbow is cut at an
angle, so that the hole is trapezoidal.
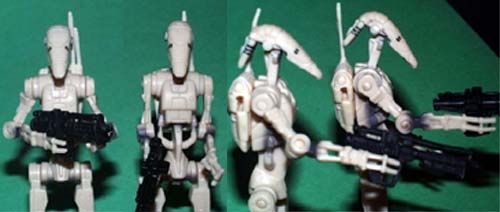
Front/Side comparison with Hasbro version (Customized version at left)
The first step here is to cut the forearm exactly
where the flat part (near the elbow) ends, and we see
a cylindrical protuberance. Now, carefully make parallel cuts along the forearm
piece so as to make the hole.
Cut the peg and glue it in it's place again. Now you
should have the forearm with the hole.
Repeat the procedure with the other forearm.
Before gluing the forearms to the elbow, the arms
must be repositioned too. A credible stance would have
the arms not falling parallel to the body, but at an
angle, so as to hold the blaster comfortably.
We need to cut the arm just where the round joint ends
(that would be the armpit). To give the angle to the
arm, the cut is made at an angle.
We then sand the plastic from the arm, so that the
part what will be glued is flat.
We test the whole thing before actually gluing, and
when you get a nice pose, carefully apply a drop to
each part. Glue should not get into the moveable
joints, or else you'll get a non-moving droid (the fun
part is that the droid keeps its articulation!).
And voilá, that's it.
|